Saturday, January 4, 2014

Like the Phoenix to Start Anew

I don't know about you but I always get this sense of renewal at the beginning of a new year. I'm full of hope and new ideas, and feel chuff that I can tackle anything, beliving that all things are possible. At the buffet of promised accomplishments and short-term goals, I fill my plate. And if not by the second day, then definitely the third, I am stuffed and now looking down at that helping with a keen and judicious eye. Goals, dreams and aspirations are one thing; sensible reality and honesty make it possible to see what it is that I am actually capable of accomplishing. 

So what it is that I am looking forward to achieving this year? Many things, all of which will be shared with you over the coming year. Keep checking back to see what I'm going to be up to in 2014...


For Christmas 2012 I made my mother a suite of linens for the dining table for the holidays. I used the designs from my GINGERBREADTOWN collection. This year when I arrived at my parents' house the table had been set with the table cloth, table runner and place mats. I did a bit of rearranging for the photo shoot to stylize it as it would be set for dinner.


For Christmas this year I made breakfast. Simple, decadent and completely satisfying.

Mom and I have been talking about savory waffles for some time now so I decided to follow through with this idea... that morning we had a BLT on Dubliner Irish cheddar cheese waffles with a fried egg on top, and for a sweet tooth, a trifle of plain greek yogurt drizzled with honey and layered with fresh blueberries, mango and pears.

Cheddar waffle batter in the waffle iron and crispy, cheese waffles

The early morning sun shining on the sunny side up egg, BLT and waffle, and with a dollop of what else? Hellman's mayonnaise.
Plain greek yogurt, honey, blueberries, mango and pears; crushed graham cracker

I travelled home with a bottle of PAU Maui Hawaiian pineapple vodka for dad. 


Poinsettias I fashioned from pastillage or gum paste for my birthday cake (I had a disaster with the sponge cake I made and rolled in a powder sugar-coated towel for the Yule log). Mom and dad came to the rescue and ran out and bought a Napoleon cake. I really like how the "black-and-white" geometric icing design juxtaposes the organic and realistic shapes and form of the flowers. BTW, the flowers are completely edible, save the wire and centers made of wire and yellow sewing thread.

One day of my stay I had hands-on training making perogies.
The dough was so springy and had such stretch and memory it was difficult to roll it out in a rectangular shape and it was even more challenging trying to cut rounds to shape and work around the fillings, which included (shown below) potato, farmer cheese and onion and my whacky concept of  kielbasi and shrimp egg roll filling. Mom also did sweet cabbage and I, sour cherries.
Potato and cheese, above, and egg roll, below.

Onions bubbling happily in butter to coat the cooked perogies.

Mom making perogies and as I have learned, taking photos with the iPhone camera isn't the same as shooting motion with the 35mm digital.
Assorted perogies laid out on floured towels drying a bit before being poached.

Sour cherry perogies cooking and after, drained.

Egg Roll perogies after cooking.

We calls these "worms" and are made of just the dough and are similar to cavatelli or spaetzle - these are my sister's favorite.

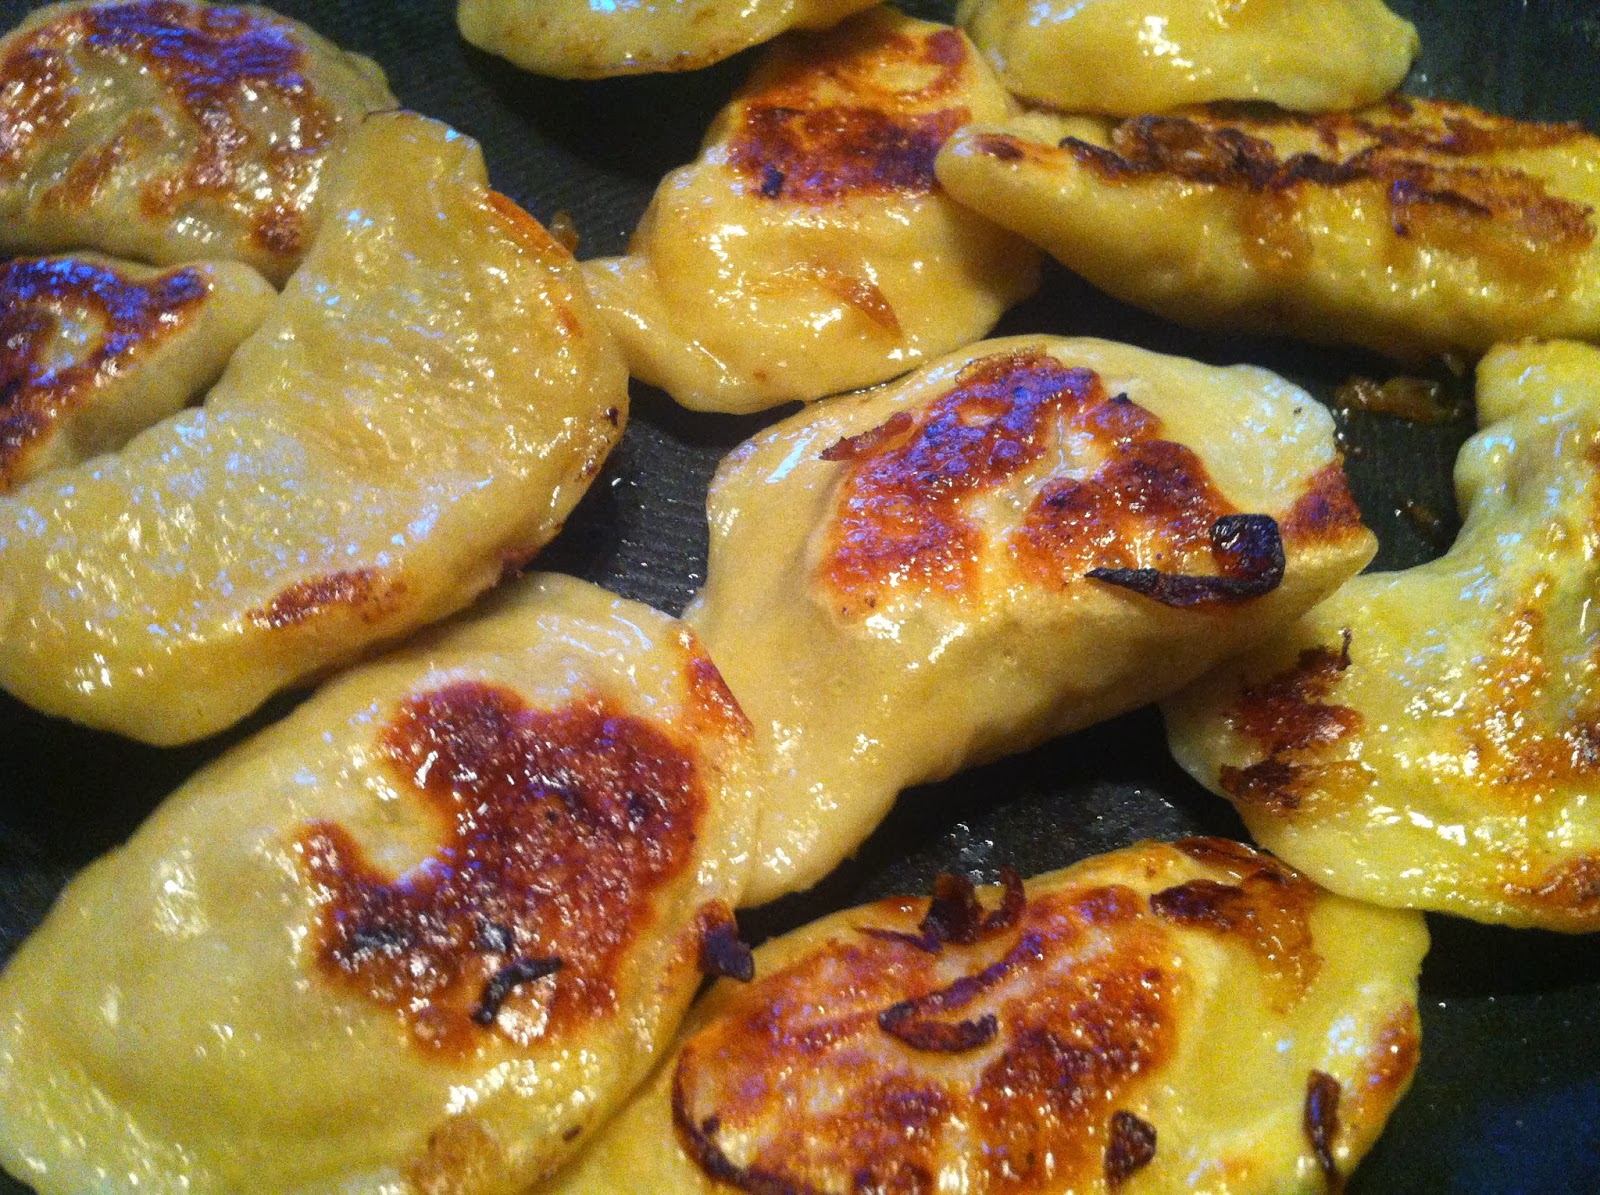
Cooked potato and cheese smothered in onions, and then pan fried to a crispy, delicious golden brown. YUM!!!

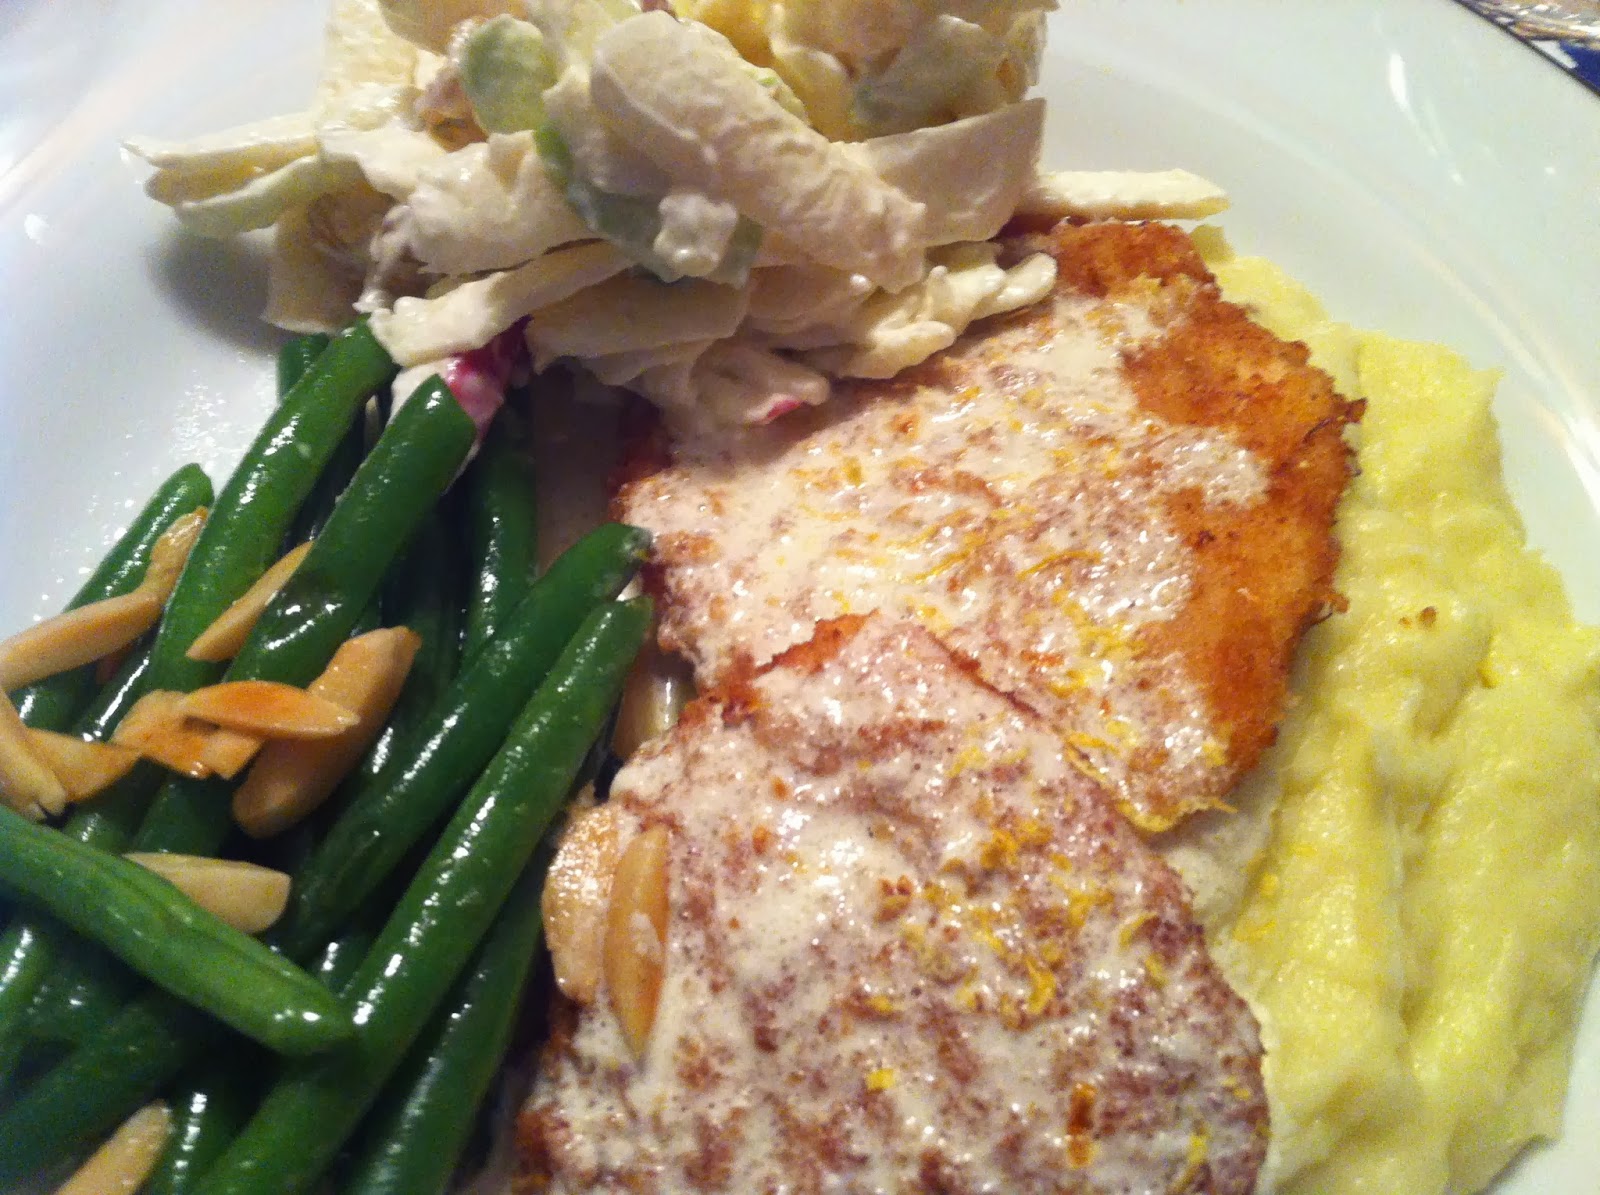

I cooked New Year's Eve dinner:

Chicken Costoletta, Wasabi-Roasted Garlic Mashed Pototoes, Haricot Vert Almondine, Mark's Waldorf Salad (celery root, granny smith and macintosh apples, golden raisins)

The return home: riding around my first day back with the top down I got a bit of sunburn (got pasty in NJ, LOL) and the next morning woke up with Frodo hair!

HAPPY 2014 EVERYONE!


Miscellaneous Images and Senseless Ponderings...


A White Sauce Veggie Ziti Bake - DIG IN!


Kula Strawberries steeping in white vinegar - 
look at the incredible color of the strawberry-infused vinegar!

A couples of cloud photos to illustrate where color inspiration comes from and my new BIRDS OF A FEATHER collection


Now, how did they get that big ole chicken to fit into one of those teeny-tiny crackers?

My SHARK BITE pattern in a child's bucket hat, bib and mini kapa blanket at the 

Thursday, December 12, 2013

Really?

We're Vegetarians!


ANIMAL FARM LAHAINA

Thursday, November 21, 2013

Birds of a Feather


Chirp. Honk. Hoot. Warble.
Squawk. Trill. Tweet. Cheep. Cluck. Caw. Cuckoo.
Quack-a-doodle-doo.

A haiku poem from Haiku Maui
by Mark

My new collection, Birds of a Feather, started shipping mid-November and Kait from Michael Miller Fabrics decided to kick off the release with a blog post. Her posts are great so make sure you check out Michael Miller Fabric's blog Making It Fun for the complete BofaF (as we refer to it) post!

There are lots of wonderful, inspirational projects and as you can see below, I am offering the instructions for the standard-size pillow case. The machine embroidery appliqued feather can be downloaded at The Needlework Factory.


Clockwise: Quill - white; Nest - coral, Cotton Couture - soft white, Twigs - teal


Standard-Size Pillowcase with Separate Cuff and Trim
Mark's technique gives the inside of the finished pillowcase a professional, tailored appearance!

MATERIALS:
Body (main fabric): 1-1/4 yards                                         Matching and/or coordinating thread
Cuff:  1/4 yard fabric                                     Scissors, rotary cutter, cutting mat, tape measure
Trim 1-3/4" fabric                                                              Sewing needle and basting thread

CUT:
Body:   43" x width of fabric       Cuff:    8" x width of fabric         Trim:    1-3/4" x width of fabric

PREP:
Body: Cut just enough to remove the selvage from one side of the Body fabric. From this side measure 29-1/2". Cut off extra fabric so Body fabric measures 29-1/2" x 43".

Cuff: Along one of the longest sides of the cuff fabric, turn and press 1/2" to the wrong side of the fabric.

Trim: Fold, and press the Trim fabric in half, wrong sides together, to measure 7/8" x width of fabric.

CONSTRUCT: **If using one-way designs, "test" the placement of your pieces before sewing to make sure the designs are facing in the correct or desired direction.

~ With RIGHT sides together, match the raw edges and sew the Trim to the Body fabric along the longest (43") edge using a 3/8" seam allowance. Pin if necessary.

~ With RIGHT sides together, match raw edges (pin if needed) and sew the Trim side of the Body fabric to the Cuff using a 1/2" seam allowance.

~ On the RIGHT side of the pillow case, press the Cuff up and away from the Body of the pillowcase and the Trim down toward the Body of the pillowcase. Turn to the WRONG side and make sure all seam allowances are pressed toward the top and the Cuff of the pillowcase.

~ Fold the pillowcase in half lengthwise RIGHT sides together, matching the raw edges and seams. Pin. Remove any excess Trim and Cuff that "hangs over" the raw edge of the Body, if necessary. *Remember to remove any pins before cutting.  Starting at the bottom folded edge of the pillow body (not the turned under cuff edge) sew, using a 1/2" seam allowance, along the two (2) raw edges. Back tack at the Body/Trim/Cuff junction and at the start and stop of sewing.

~ Starting at the bottom of the pillow Body (as above) serge the edges of the pillowcase, trimming to a 1/4" seam allowance. Slow down at the Body/Trim/Cuff junction, and run the stitch off of the seam allowance 2" before the turned under edge of the cuff. An overcastting or zigzag stitch finishes the raw edge nicely too!

~ On the Cuff: Fold the turned under edge of the unfinished seam allowance down along the seam, forming a small dog-ear. Fold the cuff to the WRONG (inside) side of the pillowcase. Cover the stitching with the turned edge, match the seams and fold the seam allowance to one side to make it lie as flat as possible. Pin along the turned under edge. Base turned edge in place from the RIGHT side of the pillowcase, a scant 1/16" away from the sewn Cuff edge, where the edge-stitching will be (the basting serves as your guide).

~ Edge-stitch on the RIGHT side of the Cuff through all layers to secure the turned edge of the Cuff the Body of the pillowcase on the WRONG side.

~ Trim threads. Turn case. Press if desired.


Women's Pre-washed Reversible Bucket Hat 
Quill - color Bark 

Three different linings. Anyone interested in the pattern, please contact me. The women's size S (shown) is comparable to the children's XL (included in the 5 sizes of the children's pattern available).


Tweet - aqua - newborn 

Monday, September 9, 2013

One of MY Best Meals Ever!

Cooking, for me, like a good meal, has many layers. Many things considered, I enjoy doing it as a creative outlet and it is fun to be inspired by someone who sparks that creativity and has a good appetite. Yesterday I decided I wanted to do a nice meal for my friend Joy who has spent the last week with me and has been a wonderfully easy person to have visit and to say thanks for her reciprocated hospitality.

I did this based on the meals she has been ordering when we dine out and the meal came together without a hitch... and like magic, afterward, the pots-and-pan and dishes had all been washed!

Macadamia Nut Crusted fillet of Ono and Shrimp on a bed of Gingered Spinach, Roasted Purple Sweet Potato, Lilikoi Butter Sauce, Black Sesame Seed garnish
We could have licked the plates in the privacy of my home but we didn't ;)

Sunday, September 1, 2013

Ana'ole - Green Sea Turtle #4: A Turtle Tale

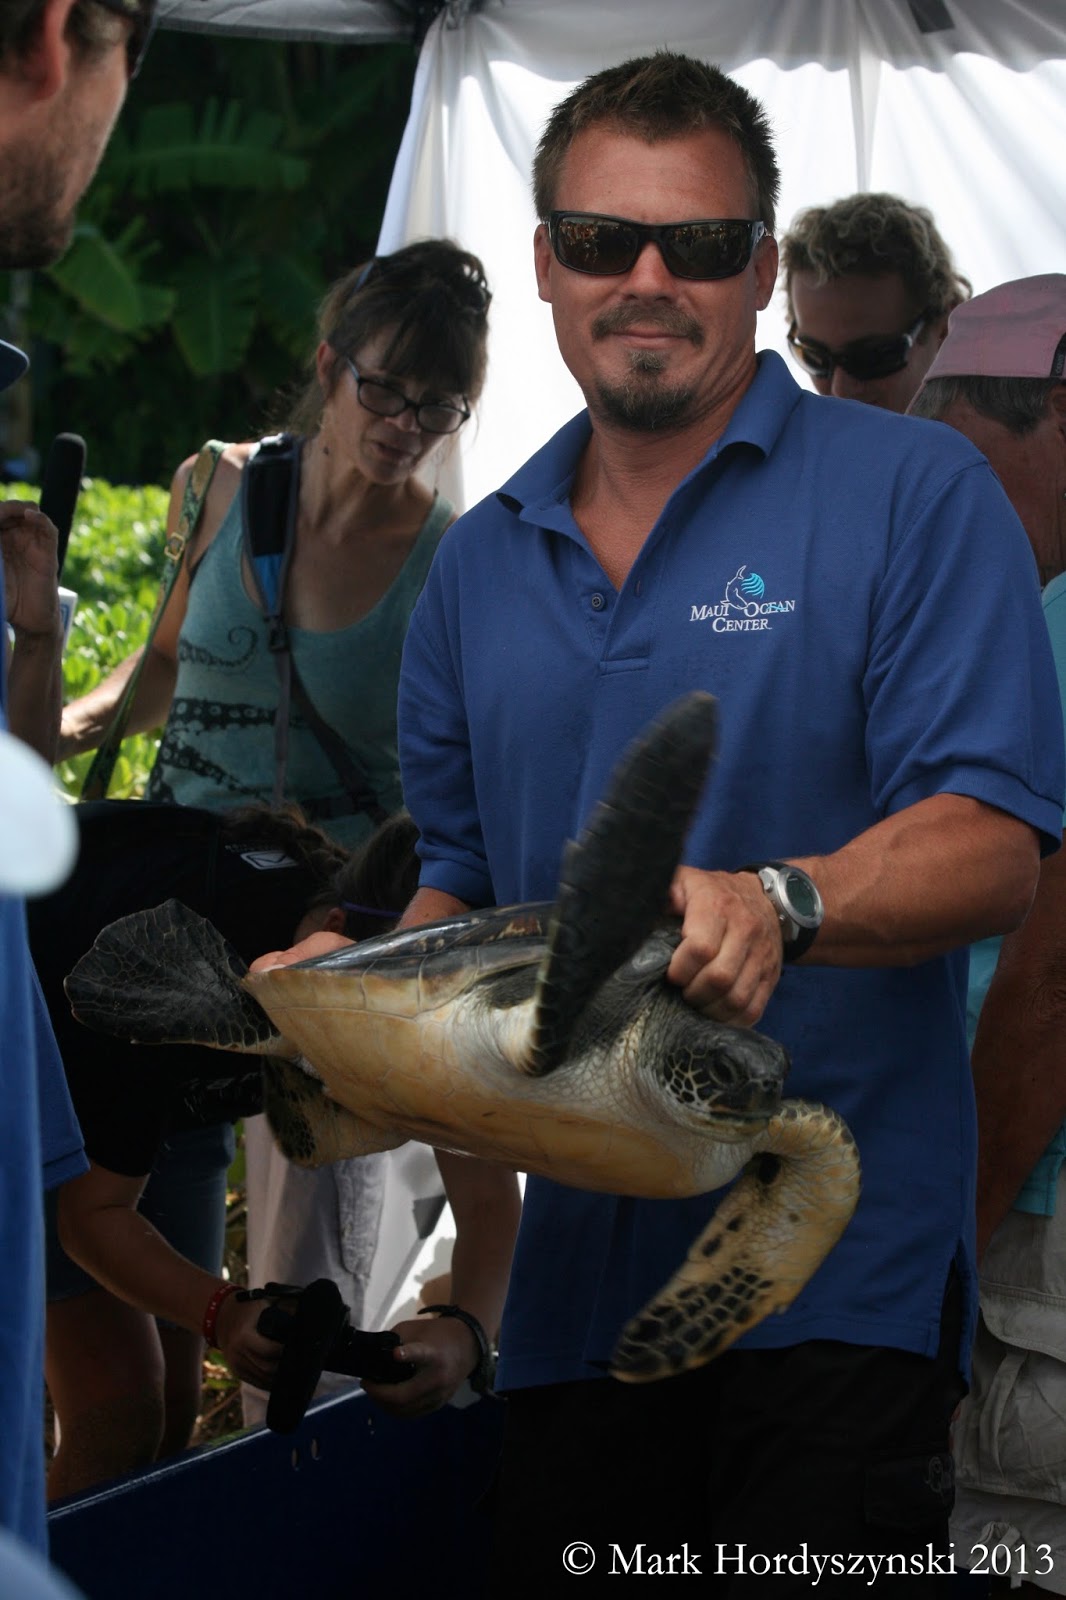
Bittersweet and melancholy were the two words that I though were going to color my mood this past Thursday as I attended the release of six juvenile green sea turtles into the clear blue-green. As you may remember last year I entered a contest sponsored by the Maui Ocean Center (MOC) to name the baby honu (turtle). My name, for turtle number 4, Ana'ole, was chosen and ever since, I have had a special connection with the flippered-and-hard-shelled hatchling.

Green sea turtles can live in excess of one-hundred-years old, so Ana'ole, pictured below, is no more than a mere infant: 46 pounds and about 18 inches long, from top to tip of the shell. Microchips imbedded in the back flippers were scanned and recorded, measurements taken, identifying markings retouched and Dremelled into the shell all in preparation for the  return home to the sea from whence her ancestors came.

The tail measurement seems an odd piece of data to record but quite vital (I discovered) when I asked of Ana'ole, "Male or female?"

They didn't know. The sex of the turtles is not apparent until they are about twenty to twenty-five years of age, and is determined by the length of the tail: females having shorter tails and males longer ones.

After a chanted blessing in Hawaiian to sanction the event, each honu was taken down one of two lanes leading to the water and set free.

I watched Ana'ole disappear quickly as if becoming one with the ocean to begin a new life in the waters surrounding the Hawaiian Islands. Aloha, Ana'ole. A hui hou kakou (Aloha, Ana'ole. Until we meet again).