Showing posts with label Quilt Market 2011. Show all posts

Wednesday, February 29, 2012

Sometimes You Need to Take a Step Back...

...in order to go forward. So that's what I'm going to do with this post. Before I show my new collection PARADISE COVE, I want to do a flashback to the International Quilt Market in Salt Lace City, Spring 2011. It was here that I previewed the HULA DOLLS collection (it would be released in August), my first for Michael Miller Fabrics after rejoining the company as a licensed designer. The reason I am doing this is to show how the Hula Dolls collection segues and flows into the Mermaids of Hana Bay group...

(Since PARADISE COVE is soon to be released, there is no link, so you'll have to be patient... I promise to post the designs as soon as I know they are ready to go live!)

You may also notice all the hats - it was then that I created the Children's Reversible Bucket Hat and started marketing the pattern under my label: 
and hence the name of my blog!
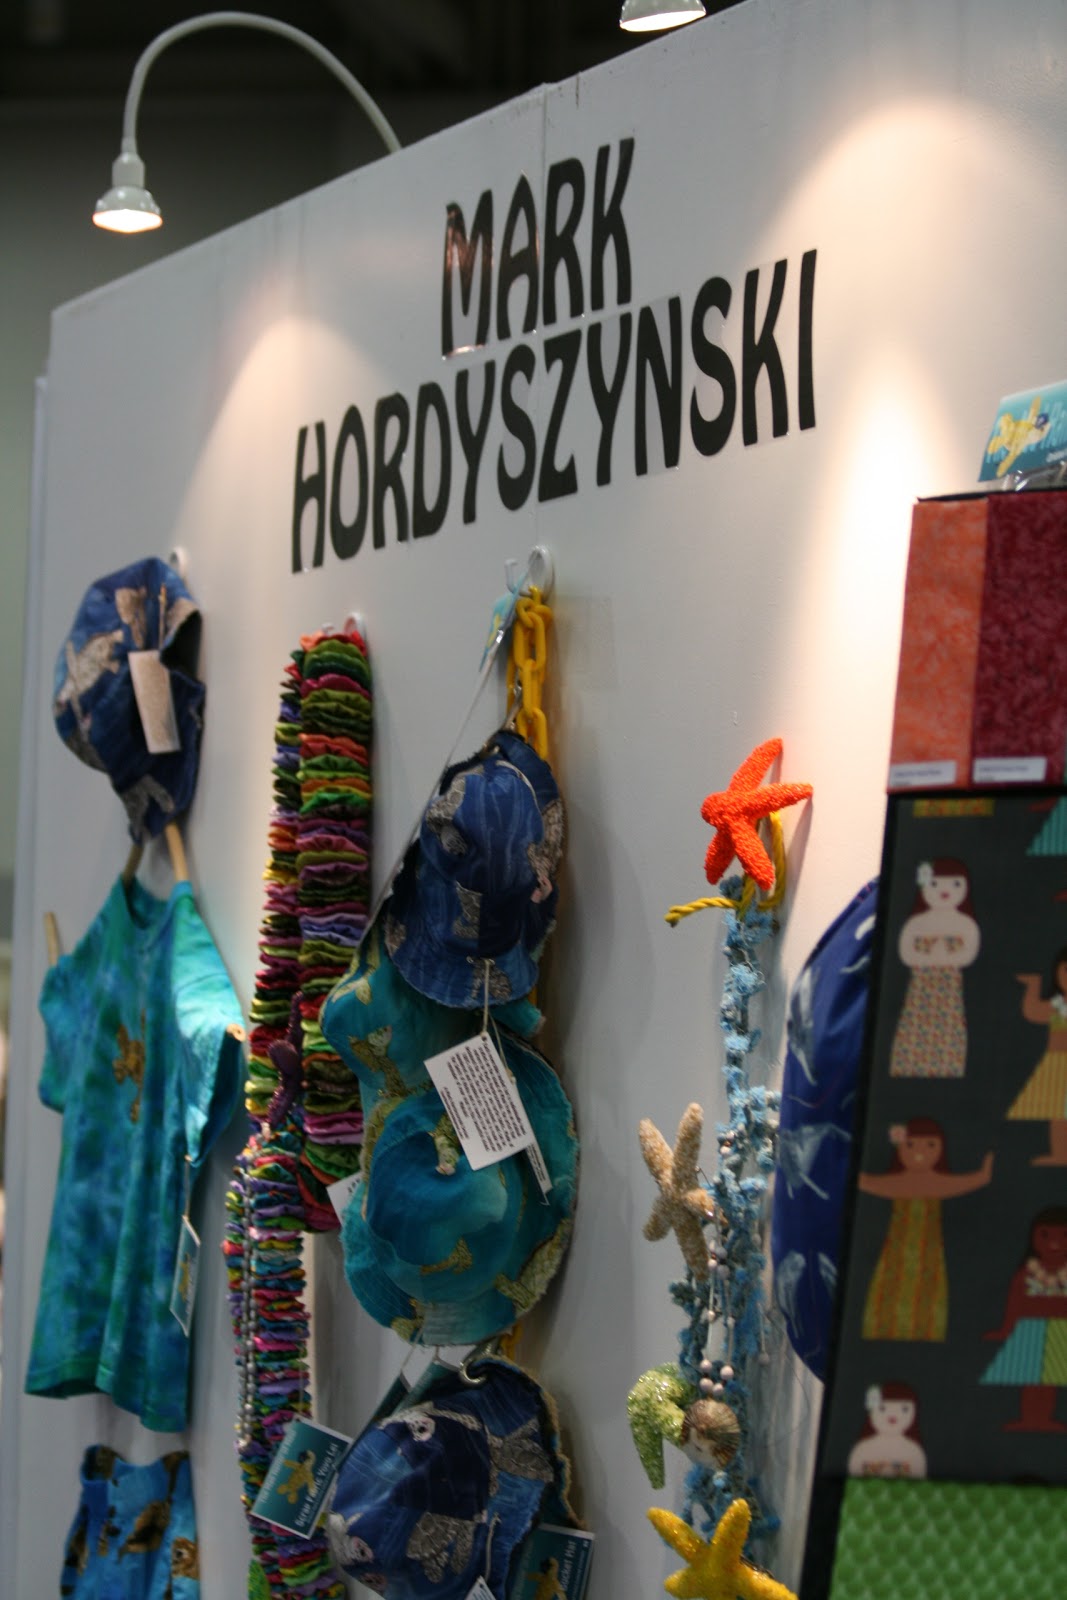

Having been on Maui for a just about two years, I was full of inspiration from my lush tropical surroundings and the rich, Hawaiian culture. I was bursting at the seams to create a group of fabrics that would speak the language of the island yet transcend the Pacific waters and be embraced by a broad and diverse audience. 

I have been credited with being sensitive to the use of varying skin tones in my characters. This was a completely subconscious channeling of the diverse melding of the peoples that inhabit  these islands which again, speaks loud and clear the diversity of our own country and of the peoples of the planet. I was simply putting on paper - and in turn fabric - that which I saw all around me...


Mark Hordyszynski for Michael Miller Fabrics
Please note: unfortunately the colors here are all a bit washed; they're more like the photo above :)  


Top to Bottom: Hula Dolls DC5018 - Graphite and Seafoam

Pacific Reef DC5016 - Sea

Island Hibiscus DC5017 - Coffee

Left to Right: Tiki Woodblock DC5012 - Isle and Wave

Surfer Stripe DC5015 - Wave

Leaf Vines DC5013 - Isle

Left to Right: Scales & Waves - Coffee and Green Tea

Left to Right: Scales & Waves - Sea and Wave


HULA DOLLS Embroideries by The Needlework Factory
(Available April)


The figure above has a skirt made of Angelina Fibers and the one below out of natural raffia. Imagine how cute these would be paired with the coordinating fabrics in a quilt or better yet, in little girls' clothing!


(Sue, the creator of the embroideries, said that working with both fibers was very challenging and time consuming, so these examples are for inspiration only. The skirt can be stitched out, or done as an applique with a fabric of your choice... I'll be sure to post pics of new samples as soon as I get a sample sewn out... but they are so darn cute I couldn't resist showing them!) 

Friday, February 17, 2012

APOTHESCARY Glow-in-the-Dark Halloween Collection

An ongoing challenge that has been presented to me is to fill a void in the market for boy themed prints. Naturally it came to me that most boys somehow end up with a chemistry set or other such present as a gift. So when considering a new halloween group - a category that I could design all year long - I thought it would be fun to do a Mad Scientist-based group for all of the aspiring doctors, nurses, medical technologies and pharmacist boys and girls (and men and women) in your life.


As you will notice when reviewing the prints, I have purposely designed the group 1). to appeal to both a younger and older audience (the latter being a definite asset since most halloween prints currently in the market are geared to juveniles and this group definitely has an adult appeal), 2). for both boys and girls of all ages and 3). most of the prints transcend a strictly halloween genre. For example, the Apothescary print is a year round laboratory print, as is the Spooky Spots. The Lightning Stripe and Hocus Pocus can be blended into a wizard or dungeons and dragons group. I see it that it is my job to provide you with the most versatile designs possible, allow you to be creatively inspired and let your imagination run wild....!

;) P.S. The design numbers designated DG and Glow, Glow-In-The-Dark! How cool is that?

APOTHESCARY
Halloween Collection by Mark Hordyszynski for Michael Miller Fabrics
Apothescary (DC5277-Black)

The Dr. Is In (DC5251-Green)

Spotted Spooks (DG5245-Glow)

Boo! (DG5256-Glow) Boo! (DC5256-Pumpkin)

Bottles (DC5253-Black)

Lightning Stripe (DC5252-Pumpkin)

Spooky Spots (DC5252-Dalmation) Spooky Spots (DC5252-Kiwi)

Spooky Spots (DC5252-Kryptonite) Spooky Spots (DC5252-Kiwi)

Spooky Spots (DC5252-Pumpkin) Spooky Spots (DC5252-White)

Hocus Pocus (DG5257-Glow)

My aspirations for this group are quite high... at the 2011 Fall International Quilt Market in Houston this past October, the Michael Miller sales reps were writing orders on this group almost one year to date in advance as the last day of the show was Halloween. I hope you're as excited about these designs as I am!

In addition to the designs on fabric as seen above, I have a license for Machine Embroidery Collections with THE NEEDLEWORK FACTORY and the Apothescary bottles are available as a Full Collection on a disc, or as Individual Bottle Design Kits. Please refer to the right sidebar for a direct link to the page.


The main outline of the bottle is stitched out on the background fabric. Then the contents of the bottle are placed within the stitched lines, followed by a piece of clear plastic overlaid on top of the embellishments. Lastly, the satin stitch outlines of the bottle sew over the first stitched outline, embroidering the plastic to the background fabric. The buttons, provided by Just Another Button Company, are glued down. The glitter and confetti is loose and moves around the stationery buttons when turned, shaken or rattled. They are very clever, very unique!

Here the Apothescary embroideries are stitched out on a white lab coat as shown for the 2011 Fall International Quilt Market in Houston.

Wednesday, February 8, 2012

Gingerbreadtown Holiday Collection

Here is my GINGERBREADTOWN collection for Michael Miller Fabrics. It was debuted at the 2011 Fall International Quilt Market in Houston this past October. It was utterly amazing to see interest in the collection a full year before it would be available in stores!


I have been wanting to do a gingerbread and holiday candy group for quite some time, and I am glad that I had the opportunity to design it when I did because I had just started teaching myself Photoshop and this incredible design tool made easy work of the project, and allowed me to design in ways I hand never contemplated before.


As an example, in the Confectionary Stripe, there are exactly 4 elements that I had "painted" using colored pencils and magic marker (my training is in menswear design and that is the preferred mediums for sketching garments). All the other elements were scanned - and by scanned I mean placing real candy on the scanner bed and creating life-like art from the images. If you'd like to take a guess which ones are the artwork and post them in the comments, I'll gladly let you know if you're correct but I'll reveal the truth ;) next week...


In addition, the scanning and manipulating of the real candy images prompted me to go one step further with the Gingerbread fabric. Knowing I could attempt to paint (this time with acrylics) a realistic gingerbread texture, and probably needed to make several samples to get it just right, I decided to "cheat"! So I baked rollout gingerbread cookie dough and scanned that too! It's remarkable how reality can be skewed through art and manipulated to suit the creator's needs!


For the Cookie Cutouts I used Photoshop to "cut out" the shapes from the virtual Gingerbread and iced it with computerized icing.


The Gingerbread House Quilt and Pancake Doll pattern shown in the right hand side bar use the collection listed above. The house is built from cutting apart the Confectionary Stripe and then piecing it together in the schoolhouse block I have designed. The pattern goes on sale the end of this month.


GINGERBREADTOWN by Mark Hordyszynski for Michael Miller Fabrics

DC5220 Confectionary Stripe

DC5218 Gingerbread

DC5215 Cookie Cutouts

DC51217 Gummy Stripe

DC5216 100-Calorie Snak Pak

DC5219 Vanilla With Sprinkles


Wednesday, February 1, 2012

The Adventures of DA BONE

Aloha!

I am going to post a fabric - design - work related entry every Wednesday so keep checking back as I relay some of the goings-on of the past year, and get you up-to-date on what can be expected in the coming year.

I was thrilled when Kathy, co-owner and Head Stylist of Michael Miller Fabrics, agreed to allow me to display my new Halloween group APOTHESCARY at Quilt Market in Houston this past fall. It's a nine-piece collection of prints geared for the little mad scientist in all of us, and our junior chemists and pharmacists in the family. The great aspect of the collection (from a merchandising standpoint) is that the group transcends the frightful holiday and individual designs can be placed in other categories. Here's the link to the collection on the Michael Miller Fabrics website:

http://www.michaelmillerfabrics.com/MMF/Swatch4.cfm?&Gnam=Halloween

Also, all of the designs in the
Halloween category are mine, and it's going to get bigger as I have a few more patterns which I am shooting to debut at the Spring Quilt Market in Kansas City this year.

Once I got the okay to proceed, the process of designing my space began. I, at first, wanted to do a mad scientist's lab - stone walls, bubbling beakers, etc. but it just didn't settle with me 100% - there seemed to be something lacking. Then I remembered that MMF had 2-color damask patterns in an array of combos, so I hoped to find one in red-and-black... BINGO! And better yet, there was one in a black ground with a charcoal grey metallic design. This what it!! Suddenly Sweeney Todd meets the Addams Family meets Dark Shadows came to mind and the design of the booth was born.

As a designer I'm always saving pages from magazines that are inspiring, and years ago I came across a project technique in one that took newspaper, formed into the basic shape of a bone, and then was covered in plaster coated gauze bandage (similar to what would be used for a cast). The article also showed a very large bone resting against a wall, and it was then that I knew I was destined to create this dino-sized femur.

So, the process began. I enlisted the help of a couple of my very talented and artistic friends Keri and Penny. What do we use for the inside armature? How to we make it rigid and shippable yet light enough not to be cost prohibitive? Plaster vs. foam? Soon, the answers came to us.

The long portion of the bone would be wire window-screen stuffed with air bladders used for shipping. How big should we make it? I don't know... let's use the entire roll of the screen (approximately 7'.) The ends would be papier-mache balloon shapes, held together with glue and masking tape. The entire structure would be covered with strips of muslin soaked in plaster of paris.

DA BONE

Pre-Production: Paper-mache globes (Penny trying them on for size), roll of wire window screen.

After the center was wrapped with the fabric-and-plaster strips, the ends of the screen were slit and the globes attached to the ends of the bone. Here's Keri who was fearless about making a mess and getting her hands dirty.


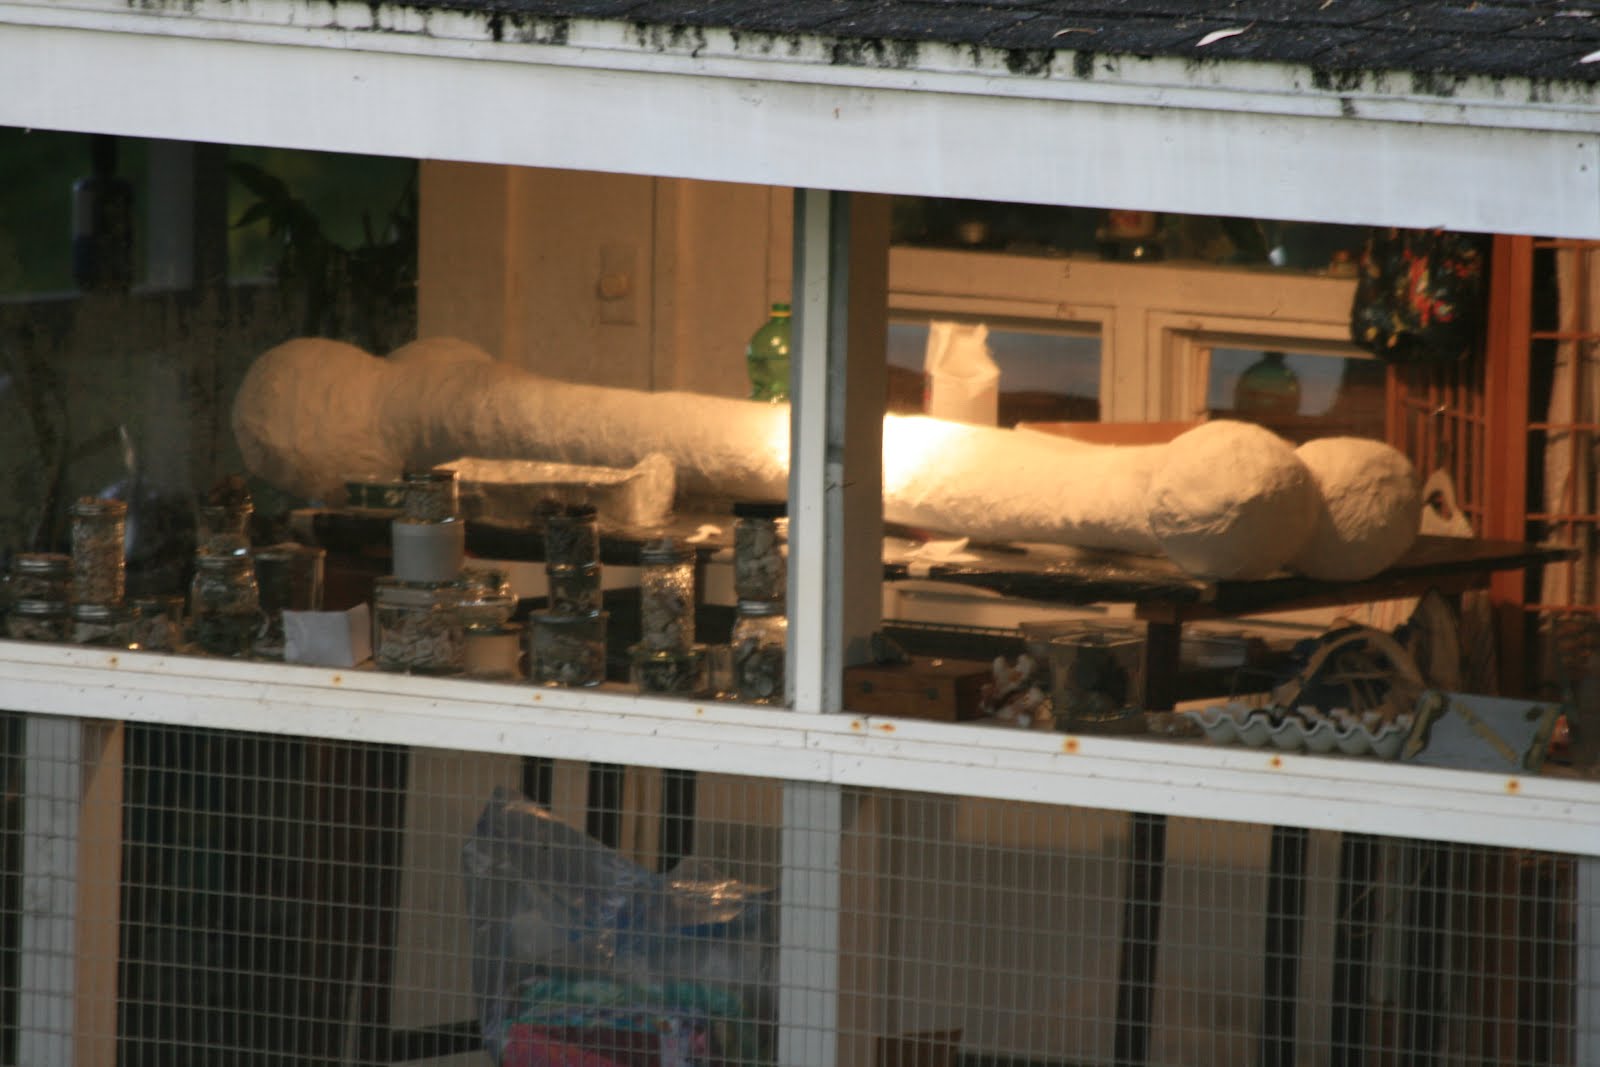
The bone, drying, on my design table (the table is 60" long.) Photo taken one morning from outside of the lanai where my office and studio is located. It was finally sealed with gesso and tea-stained to give it an aged appearance.

Fitting the bone in its cardboard casing for shipping. I wrapped it in bubble wrap, and Penny suggested using insulation foam in a can to secure it even further. Brilliant packing idea!


The bone arrived safe and sound in Houston. It was my second piece of checked luggage for the $25.00 luggage fee (it measured 7'3" packed and weighed 25 pounds.) You should have seen the spectacle I caused at the airport checking this in!


Unwrapping the bone at the convention center.

The bone on display in my APOTHESCARY space in the Michael Miller Booth. The black-and-charcoal metallic damask fabric was adhered to the walls using liquid starch. The picture frames display the fabric collection, and strangely enough, most of the props in the booth are things that I own and have collected over the years :/
And thus ends the saga of the 6'9" plaster-of-paris and fabric bone's journey from Haiku, Maui to Houston, Texas. It now lives snuggled in it's packaging in a warehouse in New Jersey.